Creating a new Django Project
Creating the FitCypher Django Project
I switch between linux and windows desktops so the commands will be whatever OS I’m on at the time.
Creating a new python virtual environment and activating it
D:\src\fitcypher>virtualenv env
D:\src\fitcypher>env\Scripts\activate.bat
# Install Django
pip install django

# Create a new project
django-admin startproject fitcypher

# Navigate to the project directory
cd fitcypher

# Create a new app
python manage.py startapp api

# Add the 'api' to INSTALLED_APPS in settings.py

INSTALLED_APPS = [
    'django.contrib.admin',
    'django.contrib.auth',
    'django.contrib.contenttypes',
    'django.contrib.sessions',
    'django.contrib.messages',
    'django.contrib.staticfiles',
    'api'
]

# Run initial migrations
python manage.py migrate

# Start the development server
python manage.py runserver
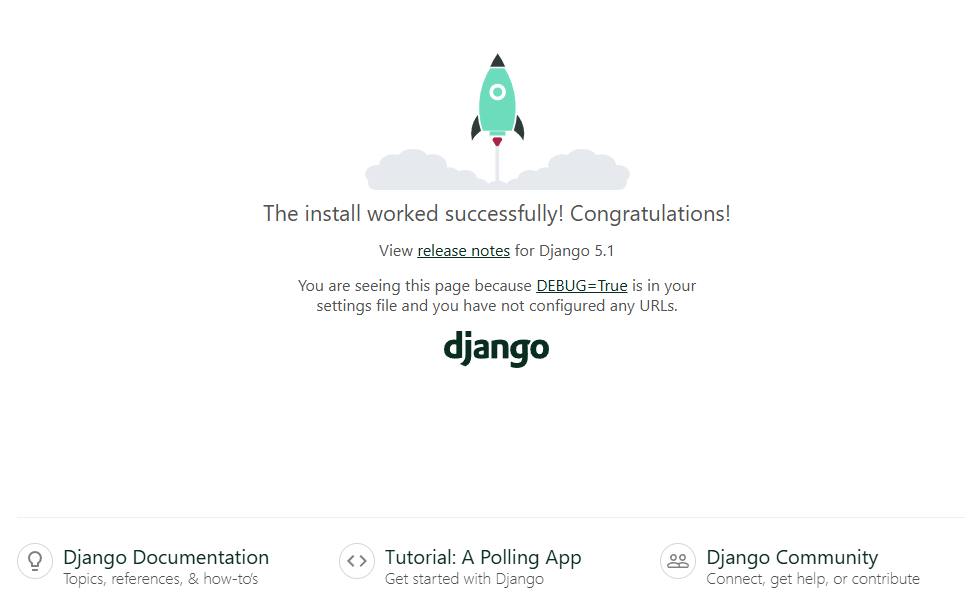
After that browse the local website :
http://127.0.0.1:8000/
and then hey presto we have lift off :
Deploying FitCypher to Render.com
Once you’ve built the site and pushed the code to github you need somewhere to deploy and host the website.
I’ve used Render.com before and it will monitor the github repo, and if there is a new commit it will redeploy the website with the latest code.
I’ve deployed before via docker container but I’ll give it a go trying to run the django website directly on render, we’ll see how it goes.
Going to follow the documentation here https://render.com/docs/deploy-django
pip install psycopg2-binary
pip install dj-database-url
On second thought I’m going to try out PythonAnywhere
When I tried Render free tier, first things I noticed were the website goes to sleep if it’s not receiving traffic and when it’s accessed the next time the website has to wake up which takes time and can even time out on the first attempt. Also the database is scheduled deletion every month which means having to setup the database again. It was pretty annoying.
Seems PythonAnywhere will not go to sleep and as long as you log in and click a button saying you’re still using the website it’ll extend for another 3 months, not sure what the go is with the database for free tier.
Hmmm so Render.com has a much nicer setup, you can pretty much auth to Github and click a repo and it’ll do a webhook on commit to trigger and deployment, where as PythonAnywhere is much more basic, and you basically get a virtual server and ssh console access to login, and you need to git clone your repo, manually git pull and then go into the UI and click reload to make the changes take effect, might have to look into more if there’s better ways of triggering deployment on git commit.
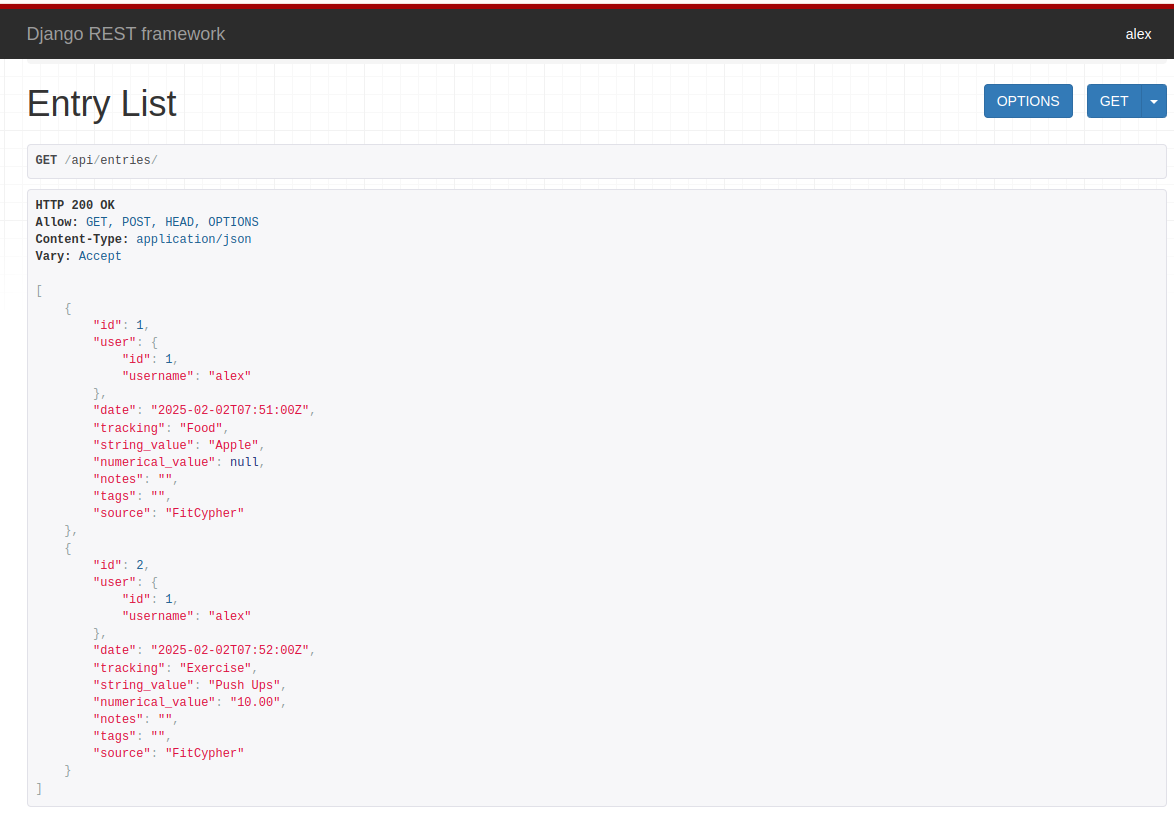
So the basic FitCypher django project is available here :
https://alexlaverty.pythonanywhere.com/
I also provisioned a MySQL database on PythonAnywhere, it also had PostGres DB but they required a premium account so I’ve gone with MySQL.
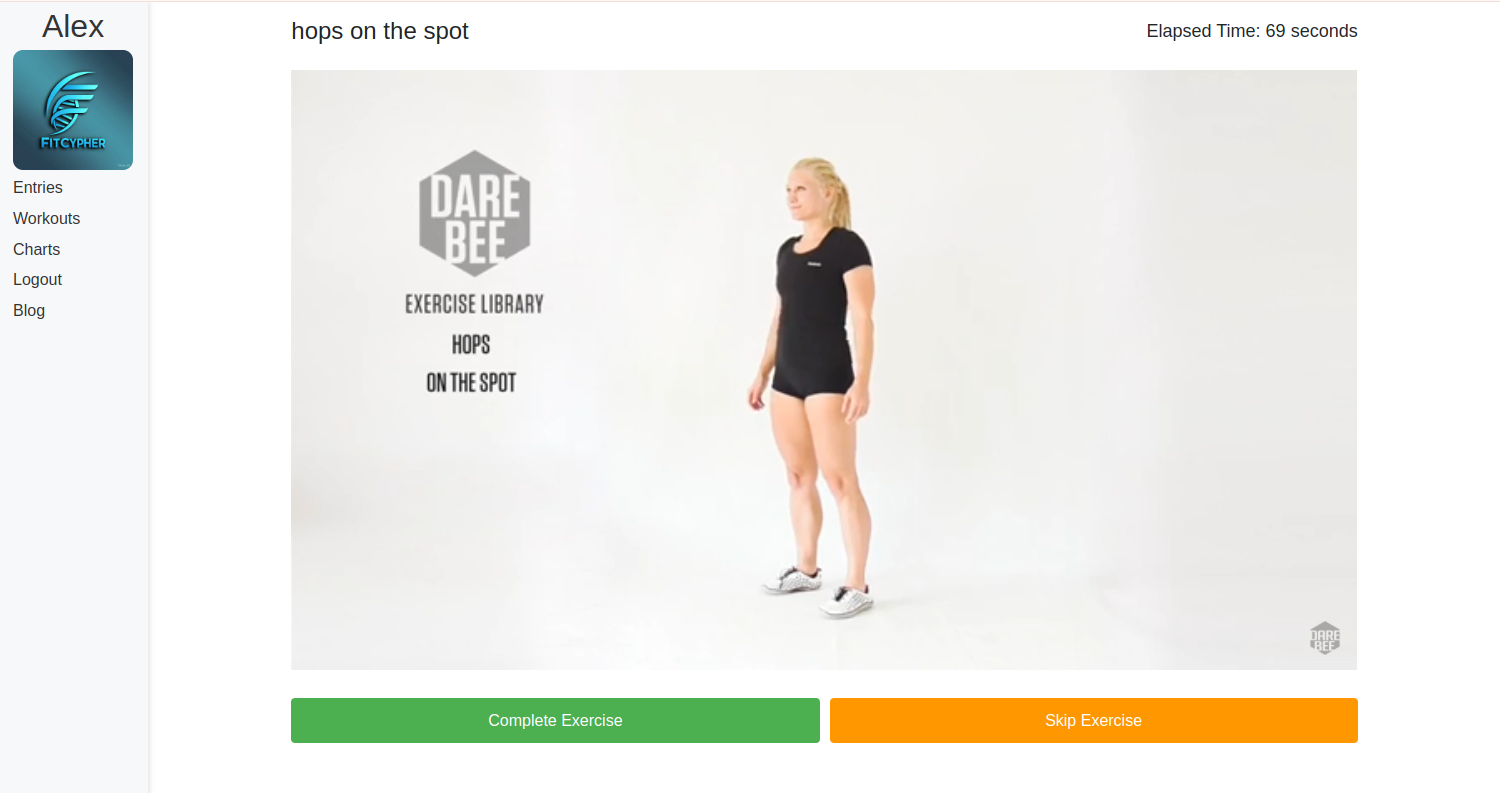
Try out FitCypher here :
https://alexlaverty.pythonanywhere.com/
Or git clone the FitCypher github repo and run it locally :
https://github.com/alexlaverty/fitcypher